Honda Rebel 250 & 450 Forum banner

New Year, Old Bike, New Bobber-

71K views 201 replies 31 participants last post by  brett7777  
#1 ·
-Some Background-

I should introduce myself - I have been a member on this forum since last summer when I purchased a 1986 Rebel 250 as a project. I have been a lurker since then, being on here about every day to keep up on various member projects and absorbing as much information as I can.
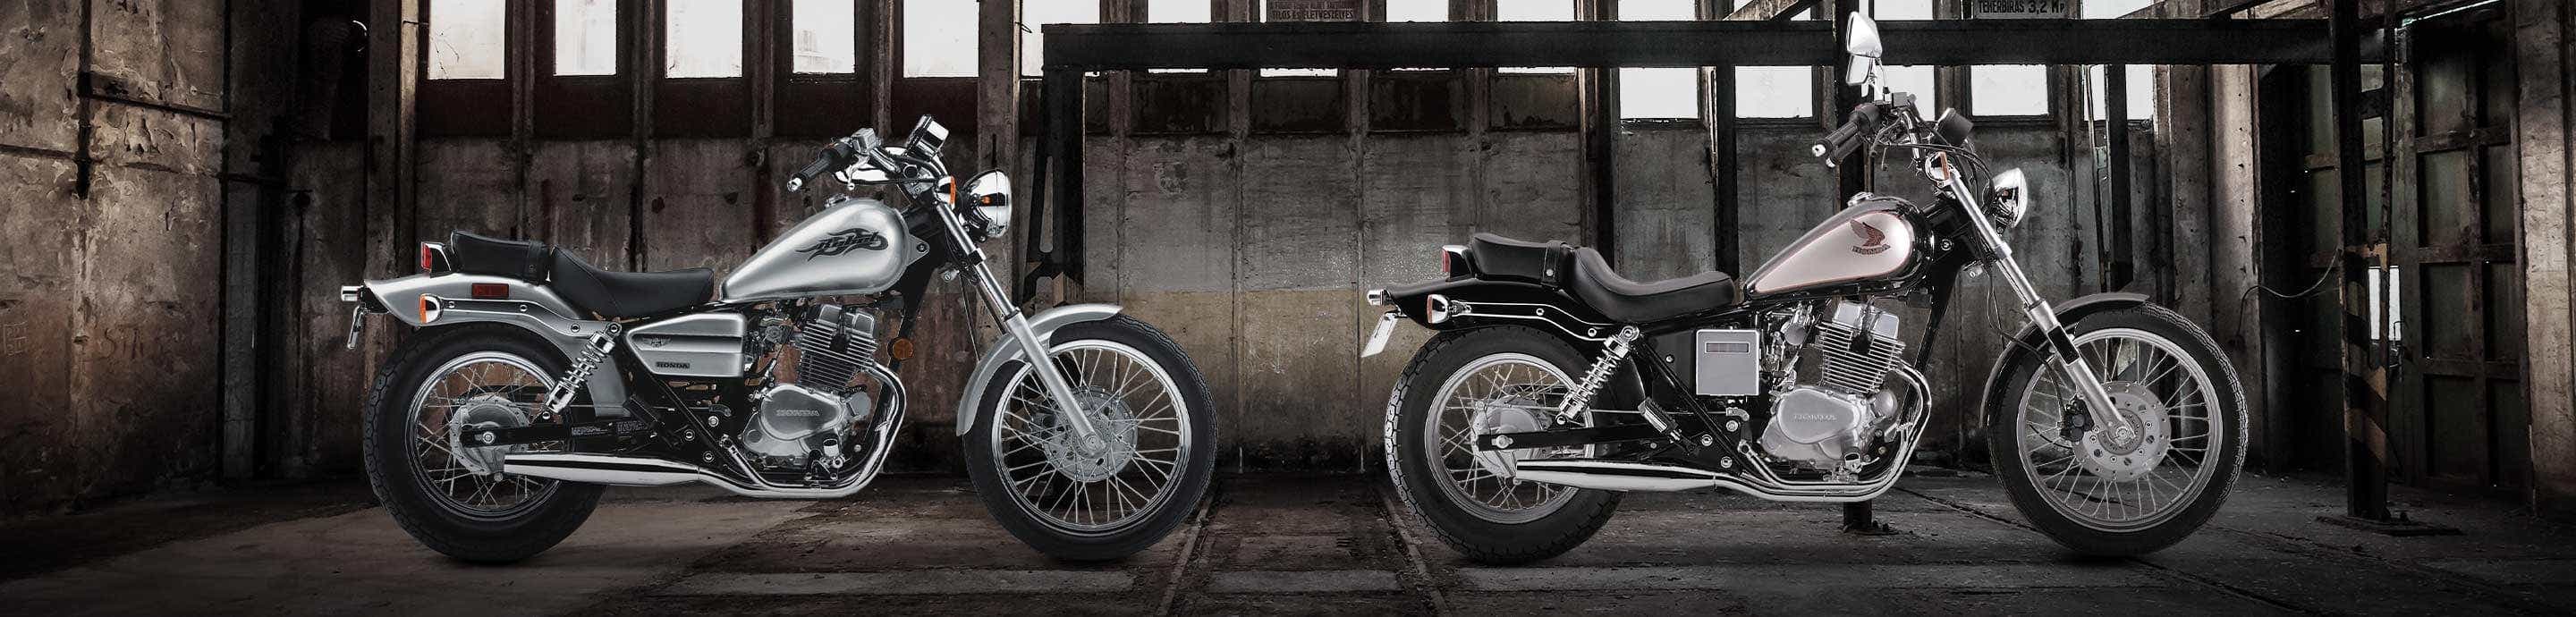
This is my bike-
Image


I bought it from a guy who had already started bobbing it- he had removed the air box, cut the stock rear fender, had a set of bullet signal lights, etc. He ran out of time and I was able to pick it up pretty cheap with a clean title. It had sat for almost a year when I came along so I continue to fight carb issues with it, but it does run.
I had some time off around Christmas & New Year's so I was finally able to spend some time on the bike. I work in a small company's engineering dept. so I have access to the prototype shop which is a huge help.

-The Build-
I wanted to hardtail it, but I wanted to do a bolt-on in order to leave the main frame as "stock" as possible for someone in the future to return it to a standard suspension if they want. After some research I decided to purchase a Honda VLX 600 swing arm since the tire dimensions and mounting system are similar.
Image


I figured that I could use it with a minimum of modification and make it work as a bolt on... not the case. For the record it flairs to the RH side only, but I didn't really catch on until after I had spent a bit of time cutting and rewelding trying to get it to the same width between the swing arm pivot as the stock arms. Here is a picture of the VLX swing arms in transit-
Image


Once I realized that it wouldn't work (disappointing is an understatement), I needed to figure out a way to make a tubing bender (cheap) but one that wouldn't crimp the DOM tube I now needed to buy.

I dug around and found some scrap metal from a prototype part we had built last year and it was just enough to turn down into a 3" radius main die for the Rebel's approx. 1.0" DOM tube. The bender I ended up with is not fancy, and the 1.0" x .120" wall DOM tube is easy enough to bend that I can mount the bender in a vise on one of the weld tables at work, which simplified things a lot.
Image


Another view, this one from the front, showing the tube retainer strap.
Image


I bent the lower frame tubes first. Here is the RH side clamped to the stock swing arm showing how it will hopefully look.
Image


I want to extend the rear-end about 4" but keep the standard ride height, so the jig is set up for that. I initially wanted to totally create my own axle mounts and everything, but realized that I would need a much more accurate jig assembly to do that. To be honest I don't have time or focus to do that, so I am going with the new swing arm based off of the stock one. The plan is to use the stock pivot end and the axle mount ends and remove the rest once all the tubing is complete. More to come. :D
 
#2 ·
Glad you posted! Welcome.

Looks like an interesting idea.
Remember to chop safe.
 
#4 ·
Glad you posted! Welcome.

Looks like an interesting idea.
Remember to chop safe.

-Thanks, Buickguy. I will try.

Being the owner of both Rebels and VLXes and having already attempted cross-swapping Rebel and VLX wheels, I could have told you that "similar" is about as far from the truth as you can possibly get. The VLX rim actually will fit on the Rebel swingarm, but you lose the spacers that keep it centered. Meaning the wheel sits off center and perfectly snug between the Rebel swingarm tubes. Meaning the sprocket sits too far to the left to properly line up with the driven sprocket up front.

But it looks like you're taking the right approach now...a true rigid frame made to spec looks (and works) much better ;)

-I appreciate it, Shadow Shack. A great example of "I should have asked". Would have saved some coin... ah well.
 
#3 ·
After some research I decided to purchase a Honda VLX 600 swing arm since the tire dimensions and mounting system are similar.
Being the owner of both Rebels and VLXes and having already attempted cross-swapping Rebel and VLX wheels, I could have told you that "similar" is about as far from the truth as you can possibly get. The VLX rim actually will fit on the Rebel swingarm, but you lose the spacers that keep it centered. Meaning the wheel sits off center and perfectly snug between the Rebel swingarm tubes. Meaning the sprocket sits too far to the left to properly line up with the driven sprocket up front.

But it looks like you're taking the right approach now...a true rigid frame made to spec looks (and works) much better ;)
 
#5 ·
welcome to forum. interesting project looking foward to see finished.:thumb:
 
#9 ·
-Progress-

Well work started back today so I didn't have much time, but here is some progress-

I was initially trying to achieve the swing arm flare (approx 9" width @ pivot to about 9.6" @ the axle slots) by offsetting the front bends on the lower tubes to angle inward. This can seen (sort of) in the picture below.
Image


The inward angle was somewhere around 5-7 degrees mirrored on both sides. The issue came up when I did a test fit of one of the tubes on the bike- the straight tubes interfered with the stock exhaust pipes. Since I haven't decided if I want to bob the exhaust pipes yet or not and the straight tubes with inward angled front ends interfered with the stock exhaust, I decided to try to mimic the flare angles of the stock swing arms. Here is the bender set up to pop the center bend in the RH lower tube. The round bar sitting on top of the follower die slides in and out of the handle tube for more leverage when required.
Image


Here are both lower tubes completed.
Image


It looks a LOT better now. You can see the small bends in the center now with the paint pen marks where I was trying to figure out where to start the bend. The tubes are tacked in place and when viewed above they follow directly below the stock swing arm. I also tacked a temporary crossbar to the two axle end pieces to keep them square to each other once I cut them loose.
Image


Hopefully tomorrow I will get a chance to get some more progress posted.
 
#10 ·
This is kinda interesting. Im waiting to see how ya end up doing the top end of this bolt on. Where are you going to mount the upper tubes?
 
#11 ·
Henryinva, thanks for the interest. I am planning on mounting the upper tubes to the spring mount points under the seat area. I am going to remove the spring pivots and mount directly to the frame for as low a profile as I can get. I just have to find the right Metric thread to fit it... I think it is a 14mm, possibly 1.5 pitch but I am not sure. The other ends of the upper tubes will be welded to the top of the axle adjusters, right above the lower tube ends.
 
#12 ·
-Progress-

Things are taking shape on the bolt-on hardtail. To make the upper tubes I sheared and bent some 3/8" thick CRS plate into two 1.5" x 3" pieces, formed into "L"s to mount to the upper spring supports. They each were drilled out to 19/32" which fits a M14 bolt shank.
Image


I notched the upper tubes to match the outer bend radius so that the tubes would lie flush against the back of the two brackets.
Image


I mounted them in place for the time being with the upper stock spring pivots. I had to order some fine thread M14x1.5 bolts and they are not in yet.

So with the two upper tube assemblies bolted on the bike I marked the lower ends in place and cut them off. The bike was suspended at the ride height during this process. Here is a picture of the swing arm before the upper tubes where in place.
Image


Here is one with the upper tubes installed. Starting to look like something now. I still have to cut away the rest of the stock swing arm.
Image


A shot of the rear chamfer on the RH upper tube pre-weld.
Image


The plan is to gusset this area and fill in the gaps with sheet metal like a member (I can't remember who it was) did with their bike.

Last but not least I couldn't help but set the future seat on there and get an idea of where this is going.
Image


I am also trying to decide if I want to use the stock rear fender and trim it as required to match the curve of the wheel (previously bobbed by the last owner), or go with something different.
Image
 
#13 ·
For a rear fender might I suggest looking to an 87-95 Shadow 1100 front fender. It fits the contour of the tire perfectly so it can be mounted quite close without rubbing issues.
 
#15 ·
That is starting to look pretty good. This is the first time I've seen anyone make a bolt-on hard tail for a Rebel. You might be able to make some money producing those if you wanted to. It looks to me like you do good work.
 
#16 ·
Thanks, mojorisn. It is fun to see it taking shape finally. It would be interesting to look into what the cost would be to produce something like this commercially... Liability-wise as well as parts. I would definitely be interested in finding out what kind of interest there is for something like this though... A production part should be able to drop right in with a minimum of work required on the bike. If there is any interest I will probably use the hardtail I am working on to design an accurate 3D model and go from there.
 
#18 ·
Everything looks good to me so far. Only thing that looks iffy is using some of the original swingarm instead of just using some thick solid steel slid into slots cut into the tubing like a conventional hardtail. The thickness of the stock swingarm steel is kinda thin.
Is the adjuster plate gonna stick out the front when it's slid all the way forward?
 
#19 ·
Good point, bB2NER. I agree that the mat'l used in the stock arms is pretty thin but since it is a light duty motorcycle in weight, HP, and torque it works. As far as using the slotted ends as the axle mounts go on the bolt-on hardtail goes, the upper and lower tubes will be welded solid to them. The tubes cover approx. 90% of the tensioning slots, the area where the axle will end up in use. I plan on using 7Ga. CRS plate to gusset between the upper and lower tubes in that area as well. That will bridge the gap and take the load for the adjuster tube ends.

I honestly hadn't considered if the inner adjuster will stick out or not... Guess I'll have to cross that bridge when I get there... :banghead:
 
#23 ·
Thanks, flitecontrol. I still had a :banghead: moment earlier when I checked to see if the axle tensioner would stick out the cut end of the old swing arms... It does, though only a little.

I have a question for everyone who has used springs under their solo seats- does one type work better than another? I want to go with the classic styles only.
 
#25 ·
I like my coil ones cause they help locate the seat side to side. But the sissor ones look cooler.
 
#26 ·
You definitely need to get a run of these produced. I would be on the list to buy one & there would be many others in the queue with me.
 
#28 ·
You definitely need to get a run of these produced. I would be on the list to buy one & there would be many others in the queue with me.
Thanks, brett7777. A question I have is whether or not this would fit on the newer bikes. Does anyone know if the old/new swing arms are the same dimensions? Also are the old/new frames the same in that area? It would only be worth it if there was just one version of the bolt-on.

Oh man this is looking great, please keep the post coming... i like the stock fender when its trimmed down, especially trim the sides of it down
Thanks, topher. I am trying figure out the mounting for it, and then I will try trimming the sides... if not I also like how the Shadow 1100 front fenders look on the rear Rebel wheel - thanks to bB2NER for the info. The big issue for me is keeping this as low cost as possible and making what I have work if I can.
 
#29 ·
The swingarm and rear shocks are the same thru the years of the CMX250.
 
#36 ·
If you can get away from the OEM tensioners, more power to you. Those tensioner bolts are extremely fragile and break too easily. Seriously, ask any Honda technician how many times he's had to order new ones after servicing a Rebel chain. A wise service manager keeps a generous inventory of them on hand.

I've managed to break two so far, one per Rebel...and after the first one I learned the inherent value of keeping a few extras on hand (and before anyone asks: no, they're not for sale ;) ).
 
#38 ·
Put into perspective, the VLX's much thicker tensioner bolt uses a double 14mm locknut compared to the Rebel's 10mm nut. You can torque on the VLX tensioner all day, but overtorque the Rebel's by a few pound/feet and it snaps like a potato chip.

Look at enough used Rebel's and you'll see the shadetree fix for the broken bolt syndrome --- the square plate between the locknuts and swingarm gets reversed to permit additional thread when the bolt breaks...assuming it didn't break too close to the swingarm anyways.
 
#39 ·
I don't see why the rebels tensioner would break easily. There shouldn't be that much torque on the bolt just tightening the chain. The only part that gets much torque is the jamb nut.
 
#40 ·
True, yet they still snap easily enough.
 
#41 ·
-Progress- (somewhat)

I started work on both the new jig and on the new 3/8" axle plates... I got the axle plates laid out how I want them and milled one slot before I called it an afternoon. The jig is another story. I have never built anything that requires precision & accuracy in 3D. It is more difficult than I first thought it would be. I know what I want and how the swing arm needs to be constrained during the welding process, but getting there is going to take time.

No pictures. I didn't have my camera with me today.
 
#45 ·
ahh you're a couple of hours or so away from me then. I see ALOT of bikes around here with vertical plates. I guess it all depends on the cops mood at the time whether they decide to enforce it or not. I think the law has to do with the plate recognition software in the cops' cars. They have to be able to invade your privacy whenever they want ;) I played it safe & went with a horizontal. Not my first choice though.